Valentine’s Day is a holiday dedicated to show your loved ones that you love and appreciate them. When you think of Valentine’s Day, people initially think of the colors red or pink, candy hearts. chocolate boxes and teddy bears as the traditional gifts that one may receive on this day. However, there is something about receiving a handmade gift that makes the feeling of love even more special.
While you can always show them that you love them everyday, on this upcoming Valentine’s Day try stepping out of your comfort zone and make something special!
There are multiple ways to show your appreciation for your fellow loved ones, whether that be a significant other, friends or family. Taking the time to make a personalized craft or treat, your person will have a unique gift to hold onto and cherish.
Life can get busy sometimes, especially as college students here at Los Medanos, there are a lot of responsibilities students have to maintain. However by taking an hour or two and sitting down to dedicate time for your loved one, it can be both relaxing and you will end up creating something just as meaningful.
Not only is making the craft more significant but you can also save a few dollars instead of buying a gift at the store. Here are a few crafts you can make with supplies at home along with how to do it step by step.
Mirror mosaic grid flowers
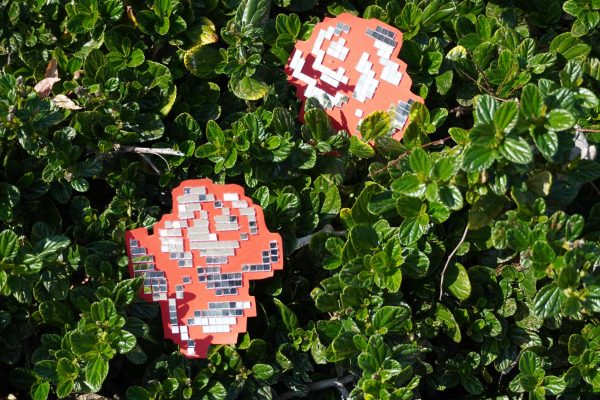
1 – Cut
Cut construction paper into a big enough size in order to fit your flower template or any template of your liking.
2 – Place
Peel off the mirror mosaic squares from sheet and place onto the construction paper by following the pattern of the grid template.
3 – Cover
Place mirror mosaic squares in the same formation as any of the grid patterns and cover up each row to avoid any confusion on which rows have been completed.
4 – Cut
Once finished with the flowers, you can cut them out and it’s ready to give to your person.
MATERIALS NEEDED
- Construction paper (prices vary Hobby Lobby $2.99)
- Mirror mosaic squares 600 (Dollar Tree $1.50)
- Scissors
Personalized felt art portrait
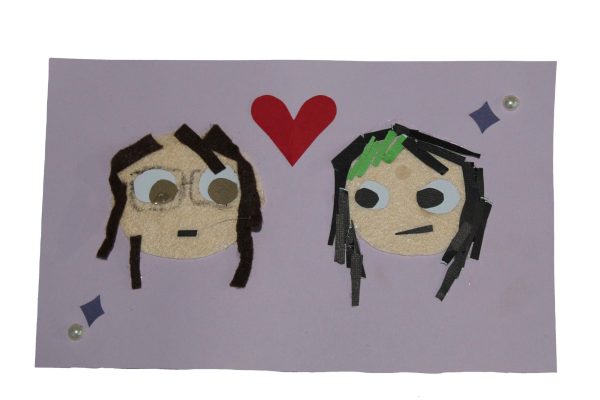
1 – Cut
Cut out shapes of circles to illustrate a head shape to create you and the other person.
2 – Construct
Using glue or roll tape, lightly place your felt paper onto the construction paper and let your creativity flow. This craft is a little more personalized so you don’t need to follow step by step.
MATERIALS NEEDED
- Felt paper / construction paper (Hobby Lobby 25 cents -$1.99)
- Glue or roll tape (Hobby Lobby $1- 1.29)
- Scissors
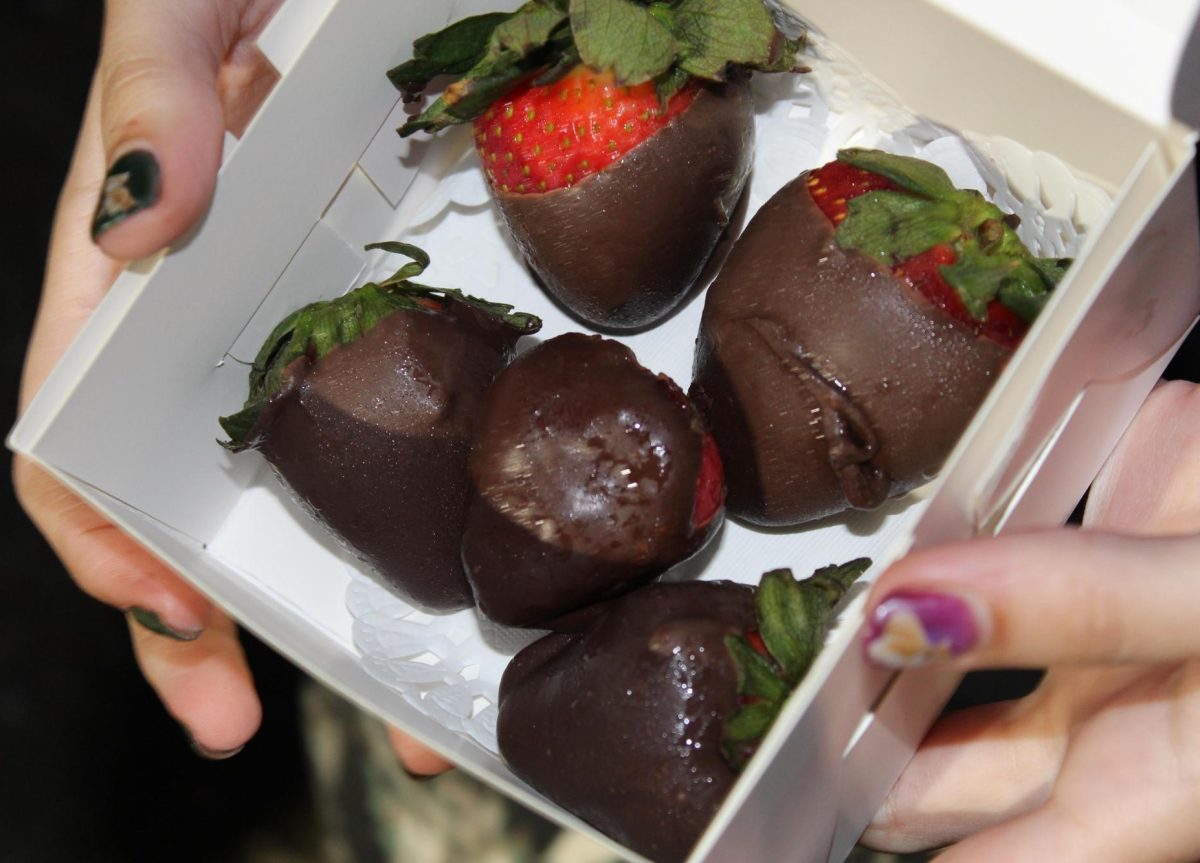
Sweet chocolate covered strawberries

1 – Prep
Wash your strawberries and pat fully dry with a paper towel and let them sit to dry. If the strawberry is still wet it will not adhere to the melted chocolate because the strawberry is still soaked with moisture. Leave to dry for about an hour before melting the chocolate squares.
2 – Melt
Melt your choice of chocolate — milk, dark, white — in the microwave in a silicone cup in 30- second intervals, constantly checking that the chocolate is slowly melting. Alternatively, if you can’t melt in the microwave, you can also melt your chocolate over the stove in a stainless steel pot with low temperature, as high temperature can burn the chocolate. Continuously stir until chocolate is fully melted
3 – Construct
Time to construct: Jab a toothpick into the top of the strawberry, dip the berry into the chocolate, do a little shake to get rid of any excess chocolate.
4 – Cool
Place immediately onto a pan of parchment paper to let chocolate harden on the strawberry. Let strawberries cool in the fridge before serving.
MATERIALS NEEDED
- Strawberries (Walmart $6)
- Ghirardelli Dark Chocolate flavored Melting Wafers 10 oz (Walmart $6.88)
- Toothpicks (Safeway 99 cents)
- Parchment paper (Walmart $1.98)
Ribbon lace heart card
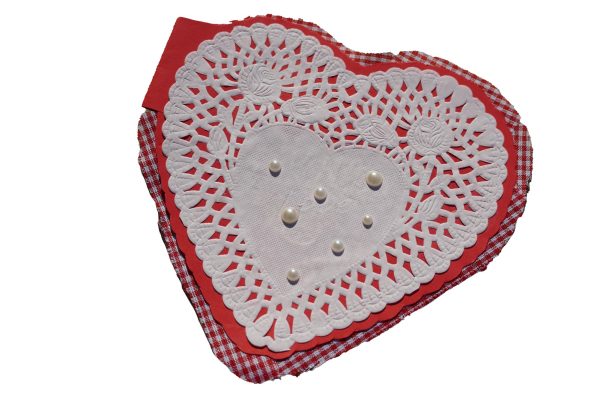
1 – Fold
Start by folding your red piece of construction paper in half, using the diamond position, take the left corner of the paper over to meet the right side.
2 – Place
Place your heart doilie onto the paper and make sure it fits the size and glue onto construction paper. Make sure to leave a centimeter of space next to where you folded the construction paper.
3 – Cut
Cut around your heart doilie and make sure to leave space around the heart and don’t cut the fold, the fold is how it becomes a card!
4 – Glue
Glue a piece of decorative ribbon along the edges of the inside of your card. Let it fully sit to dry before writing inside. Now that you have your heart card, it is time to decorate! Use any materials to your liking. You can use lace, ribbon, stickers or any other materials of your choice.
MATERIALS NEEDED
- Heart doilies (Hobby Lobby $1.99)
- Construction paper (Hobby Lobby 99 cents – $1.99)
- Ribbon (Hobby Lobby $1.99 – 2.99)
- Glue ($1.00)